Step-by-Step Guide to Safely Mounting Your TV:
Congratulations on your new TV! Now it’s time to get it mounted for optimal viewing pleasure. This guide will walk you through the process step-by-step, ensuring a safe and secure installation.
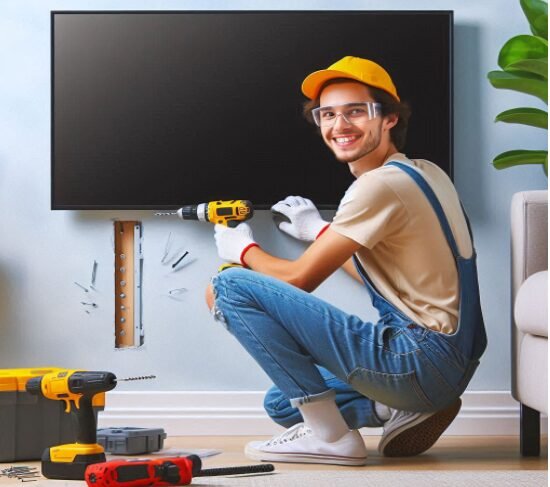
Image Credit Goes to The H-Town handyman
Safety First!
Before we begin, prioritize safety:
- Gather all your tools and materials: Double-check you have everything you need to avoid mid-project scrambling.
- Clear the workspace: Remove any furniture or obstacles around the mounting area to prevent accidents.
- Recruit a helper (optional but recommended): Having an extra pair of hands, especially when lifting the TV, can make the process much smoother and safer. For a completely hassle-free experience and to ensure your TV is securely mounted, consider hiring a professional TV mounting handyman.
- Eye protection: Wear safety glasses to shield your eyes from dust or debris during drilling.
Let’s Get Mounting!
1. Assemble the TV Mount:
- Refer to the mount’s manual for specific instructions.
- Typically, you’ll be attaching arms or brackets to a central plate.
2. Choose the Perfect Spot:
- Consider viewing height: The center of the TV should be at eye level for comfortable viewing from your usual seating position.
- Mind the cables: Ensure easy access to cable ports on the back of the TV.
- Locate the wall studs: Studs provide the strongest support for your TV. Use a stud finder to locate them and mark their positions with a pencil.
3. Mounting the Bracket to the Wall:
- Hold the bracket against the wall, aligning it with your desired location and stud marks.
- Double-check for level: Use a spirit level to ensure the bracket is perfectly horizontal before marking the screw holes.
- Drill pilot holes: Using a drill bit slightly smaller than the screws provided, drill pilot holes into the marked locations on the studs.
- Secure the bracket: Following the mount’s instructions, use the appropriate screws and anchors (for drywall) to securely fasten the bracket to the wall.
4. Attaching the Plate to the TV:
- Consult your TV’s manual to locate the VESA mounting holes on the back panel.
- Attach the mounting plate (that came with the TV mount) to these VESA holes using the corresponding screws and spacers (provided with the mount).
5. Mounting the TV to the Bracket:
- Carefully lift the TV (with a helper if needed) and align it with the mounting plate attached to the back.
- Most mounts have a “hook-in” mechanism or slots that allow you to easily hang the TV. Tighten the appropriate screws to secure the TV firmly to the bracket.
- Double-check for stability: Gently nudge the TV to ensure it’s securely mounted.
6. Cable Management:
- Use cable ties or channels to organize your TV cables for a clean and clutter-free look.
- Route the cables behind the TV and through any cable management channels on the wall mount.
Congratulations! You’ve successfully mounted your TV. Now sit back, relax, and enjoy your entertainment in style!
Bonus Tips:
- Consider professional help: If you’re unsure about any steps or feel uncomfortable working with tools or electrical wiring, consider hiring a professional TV mounting service or handyman.
- Read the manuals carefully: Both the TV mount and TV manuals will provide crucial information for safe and proper installation.
- Don’t overload the mount: Ensure your chosen mount has a weight capacity that exceeds the weight of your TV.