Have you at any point needed to make an enduring imprint on your creations? An Embossing Machine might be helpful for this but, custom branding irons may be exactly what you need. Whether you’re a carpenter, or a Do-It-Yourself fan, making your extraordinary design can add an individual touch to your tasks. In this article, we’ll dive into the captivating universe of branding marking irons and tell you the best way to rejuvenate your creative mind. From understanding the various sorts of branding irons to investigating the design methodology, we’ll direct you through the means of making a unique branding iron that mirrors your style and separates your work. Prepare to have a permanent effect with your custom branding iron!
How To Create Your Logo?
You have two options when creating the logo for your branding iron: you may use specialized software or use a simple app with logo templates.
- Professional Applications
You may design your images that can scale and shrink without sacrificing quality using a professional program like Adobe Illustrator, allowing you to produce a plate of any size with unique designs. However, because this program is somewhat advanced, it takes some time to learn how to utilize it.
- Application with Logo Templates
Even if you lack creative talent or strong computer skills. You may utilize one of the many tools and platforms available online to generate a logo in about 5 minutes. With this, you can develop a logo that’s relevant to your industry and looks amazing when branded on your items. You can start with templates that you can then alter by choosing from a variety of pictures, icons, and fonts.
You might use the following programs to make your logo:
- Canva
- Wix
- Fiverr
- Adobe Creative Cloud
- Adobe Photoshop
What Is Effective and Ineffective for Branding Iron Logos
1. It Should Be Scalable
A logo must be scalable to maintain its sense of proportion when used on business cards, posters, pens, and branding irons.
What options do you have for your logo’s size and format? Since this enables the picture to be expanded, we advise a minimum resolution of 600 dpi in formats like pdf, jpg, or ai. The logo below is inappropriate for making a high-quality branding iron due to the rough edges.
2. Shades Or Colors
Avoid using colors or shading in your logo because they will be digitally altered to get a design that works with your branding iron. This indicates that black-and-white art that has been vectorized or is of a high resolution should be used.
3. Elements of Negative Space Design
The empty spaces in a logo between text and graphics are known as negative spaces in the design. A branding iron won’t work well if a design’s features are too close together since the stamp can become unreadable after the wood is burned.
How Are Branding Irons Made?
Tools:
- a heat source
- A tool in the Dremel design that has tiny carving/engraving bits
- of sandpaper or file
- pliers that lock
- scissors, a computer, and a printer
- Adaptive knives
- Spray glue, a brass cabinet knob, and paper are the materials.
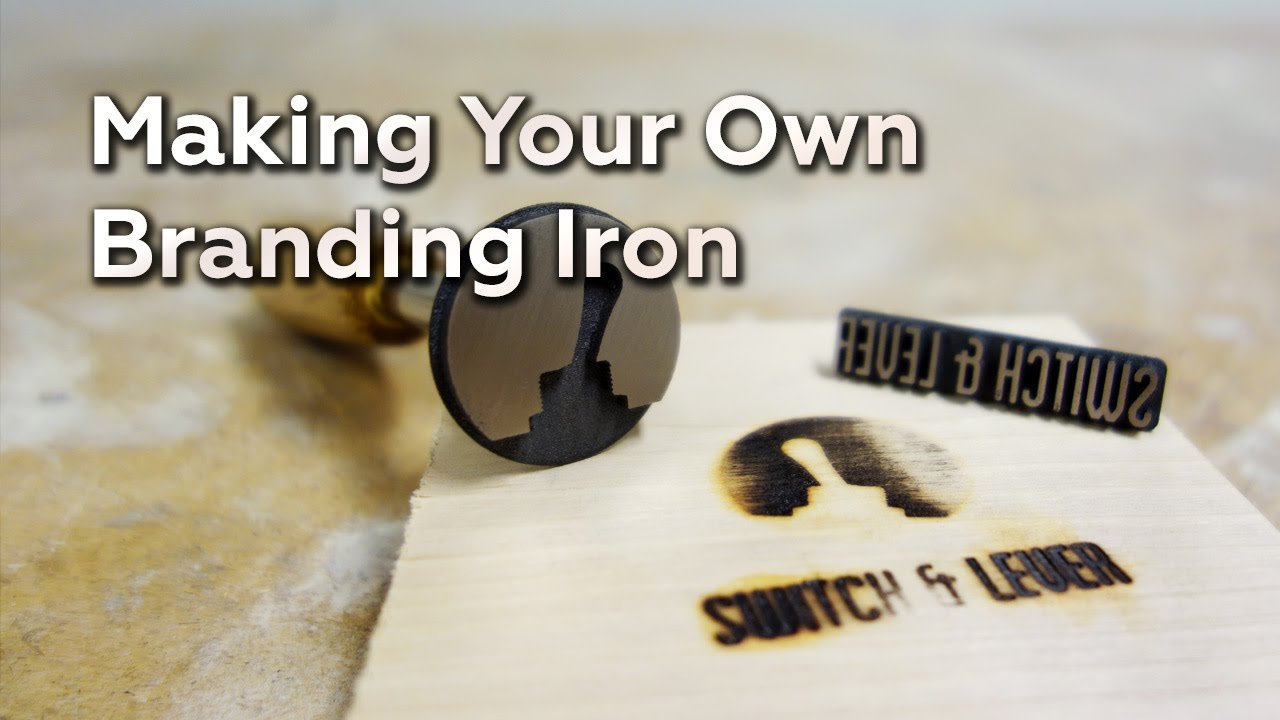
DIY Iron for Branding
- The first step is to create your logo using picture editing software, as mentioned above.
- Now get a brass knob or a flat piece of steel. Any shape is conceivable.
- After the paper template is face down, put the brass/steel piece on top of it. Use spray adhesive to adhere the brass/steel to the template after that. After cutting out the pattern, you may fold the excess over brass or steel, leaving a tiny bit of extra length.
- While holding the brass or steel in a vice, use a Dremel with a flex shaft to etch away all of the white areas of the template. You can use either a pointed cutter or a round cutter. Additionally, move cautiously because once anything has been removed, it is very difficult to recover it. You can employ experts to engrave the material if you don’t have the equipment to do it yourself.
- Now that your branding iron is heated, try it out. You’ll need to practice getting the iron hot enough and applying it evenly on the object to create a good burn.
For more information related to branding iron Visit Here To Related Posts.
Conclusion
Making the right designs can help you stand out among your competitors. We hope that the information we provided in this article will help you create unique logos for your brand.